|
be
kind
|
|
ROOF
BALL
|
|
THE
EQUIPMENT
So
much fun - so little space needed
|
|
The
Court Dimensions
|
|
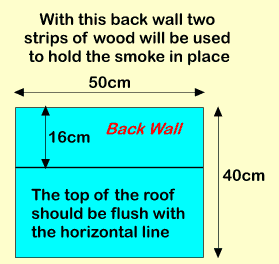
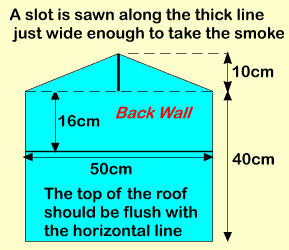
Use plywood or MDF for the main structure and acrylic or perspex sheet for the smoke. |
  |
|
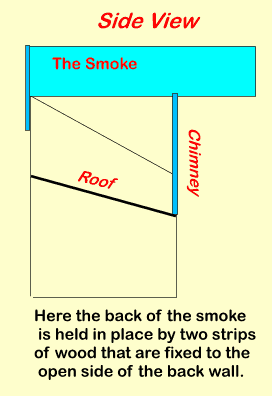
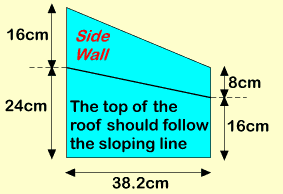
Roof Ball courts can be made with either a flat top back wall or a pointed back wall as shown above. The diagrams below show the side view of a court with a flat top back wall. |
  |
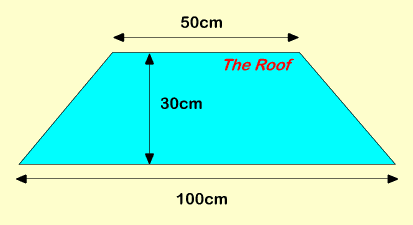 |
 |
|
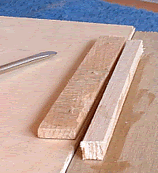
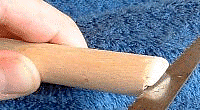
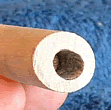
In the photograph this link takes you to an end of the 100cm strip of wood is shown. It is 1 and 1/2 inches deep and 3/4 inch wide. Smaller sizes are not recommended. |
 |
|
The thickness of the perspex should be a minimum of 2mm. Your local supplier can advise you on how to cut it. Better still, get him to cut it for you. In the photographs below a thickness of 3mm is used. |
|
Practical
Details On How To Make The Court
|
 |
|
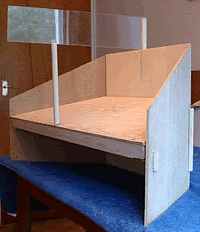
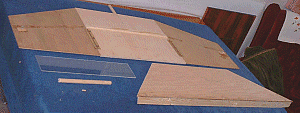
The photograph above shows a court that took just a few hours to make. It's made from scrap - really - and has a flat top back board because the plywood from which it was cut wasn't big enough for a pointed top. It's shown unpainted. |
    |
|
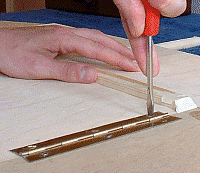
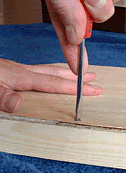
Photographs above
show that: The hinge screws went
through the plywood and into strips of wood on the other side. The hinges
are under the roof on the inside of the court. |
   |
|
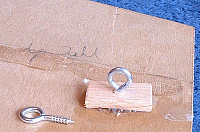
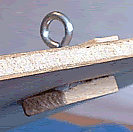
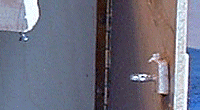
Photographs above
show that: The screws slot into
the hooks to keep the roof in place. Don't attach the hooks before
holding the roof in place and marking where exactly they should go. |
  |
|
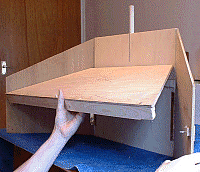
On the inside of each side wall, draw in pencil, the sloping line that the top of the roof must touch and use it as your guide when attaching the ring hooks (See diagram this link takes you to). This can be tricky so take your time and get it right. |
   |
|
Photographs above
show that: |
  |
|
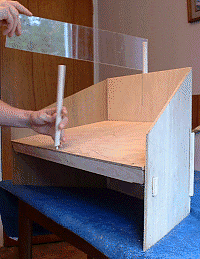
Photographs above show the smoke and chimney being put together, and then dismantled ready for storage. The smoke should be thick enough to hold the chimney upright. 3 mm is adequate The court can be quickly dismantled and laid flat for storage. Paint it how you wish. We recommend white gloss for the chimney and front strip of wood; and, dark green matt or dark blue matt for the court. These instructions show you just one easy way to make a roof ball court. Please feel free to make your own any way that you want. |
|
Dimensions
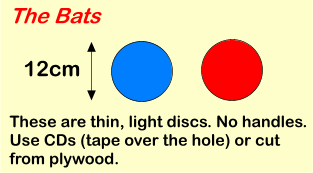
/ Practical Details On How To Make The Bats
|
 |
|
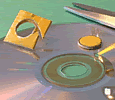
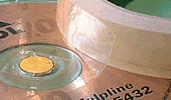
First cut a disc of card just thick enough to fill in the hole of a CD. Sellotape it in place. Take an A4 sheet of coloured paper/cloth and spread over it PVA glue. Put the CD inside it and smooth flat on both sides. Cut off the excess and leave to dry. |
  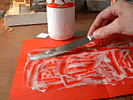 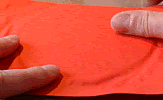 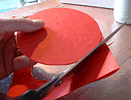 |
|
The
Ball and Serving Marks
|
  |
|
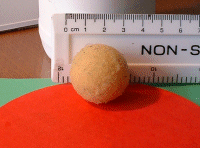
Photographs above
show the sponge ball and the serving mark. |
