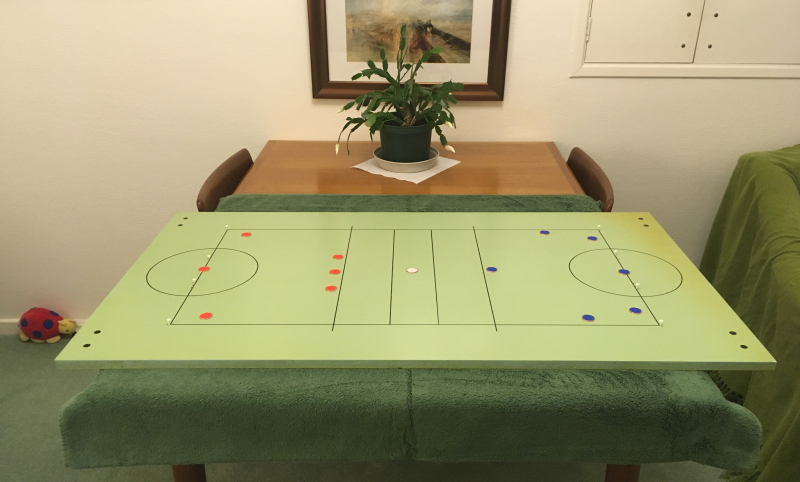
Wouldn't you just love one of these on your dining room table? Painted and varnished MDF.
Please
refer to Penny Black equipment
for the sections below as they also apply to Penny
Green
The
Principles
The Ping Factor
Pennies
Hints On Making
The Board
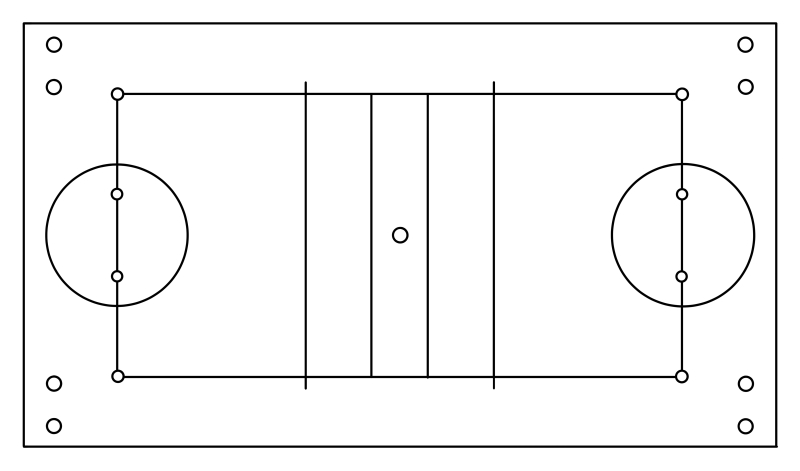
The
goal area lines are the large circles; inside them are the goal
pegs. Running vertically through the goal areas are the goal lines
at the end of which are the corner pegs. Running horizontally between
the corner pegs are the side lines.
In the middle of the field are four vertical lines. The outside two are
the zone lines and the inside two are the penalty lines.
There is a centre spot, and in each corner of the board are two other spots.
A Penny Green board
has markings based on the length of its side line.
The following is given for anyone who wishes to experiment with non
standard sizes.
Side line L
Goal line 0.5L
Each zone line 0.55L and 0.3333L from its goal line.
Penalty lines 0.1L apart and equally spaced from the centre of the field.
Goal area diameter 0.25L
Distance between goal posts -
Beginner 0.2L
Improver 0.1625L
Experienced 0.125L
The distance between
the side line and the edge of the board must not be less than 0.125L
The distance between the goal line and the edge of the board must not
be less than 0.1667L
I strongly recommend that you drill peg holes so that you can select goal sizes for beginners, improvers, and experienced players. When an experienced player plays a beginner then the experienced player can defend a large goal and the beginner can defend a small goal. The experienced player can also play with five instead of six coins.
A Penny Green board for use with Euro 5cent, UK 1p or equivalent is marked on a board of width 60cm or 24inches. It has a side line length of L=80cm.
Side line 80cm
Goal line 40cm
Each zone line 44cm and 26.6r cm from its goal line.
Penalty lines 8cm apart and equally spaced from the centre of the field.
Goal area diameter 20cm
Distance between goal posts -
Beginner 16cm
Experienced 10cm
Improver 13cm
The distance between
the side line and the edge of the board must not be less than 10cm
The distance between the goal line and the edge of the board must not
be less than 13.3r cm
A
mini Penny Green board for use with Euro 1cent, Euro 2cent, UK 6p (low
ping factor though) or equivalent is marked on a board of width 45cm or
18inches. It has a side
line length of L=60cm.
Side line 60cm
Goal line 30cm
Each zone line 33cm and 20cm from its goal line.
Penalty lines 6cm apart and equally spaced from the centre of the field.
Goal area diameter 15cm
Distance between goal posts -
Beginner 12cm
Experienced 7.5cm
Improver 9.75cm
The distance between
the side line and the edge of the board must not be less than 7.5cm
The distance between the goal line and the edge of the board must not
be less than 10cm.
A
Tupenny Green board for use with UK 2p or equivalent
has a side line length of L=100cm. (There are no standard width
boards that match a Tupenny Green board and it will have to be cut from
a large sheet.)
Side line 100cm
Goal line 50cm
Each zone line 55cm and 33.33cm from its goal line.
Penalty lines 10cm apart and equally spaced from the centre of the field.
Goal area diameter 25cm
Distance between goal posts -
Beginner 20cm
Improver 16.25cm
Experienced 12.5cm
The distance between
the side line and the edge of the board must not be less than 12.5cm
The distance between the goal line and the edge of the board must not
be less than 16.7cm.
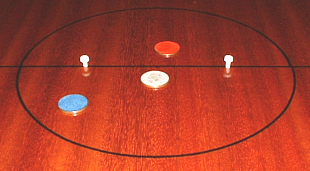
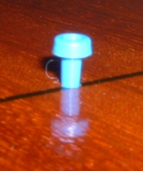
Drill small holes and pop in your choice of peg.
I recommend a 2.5mm drill for the holes; and, for the pegs the scoring pegs from a Mastermind set. As usual however, remember, if it works then it's OK. (Matchsticks, dowling etc)
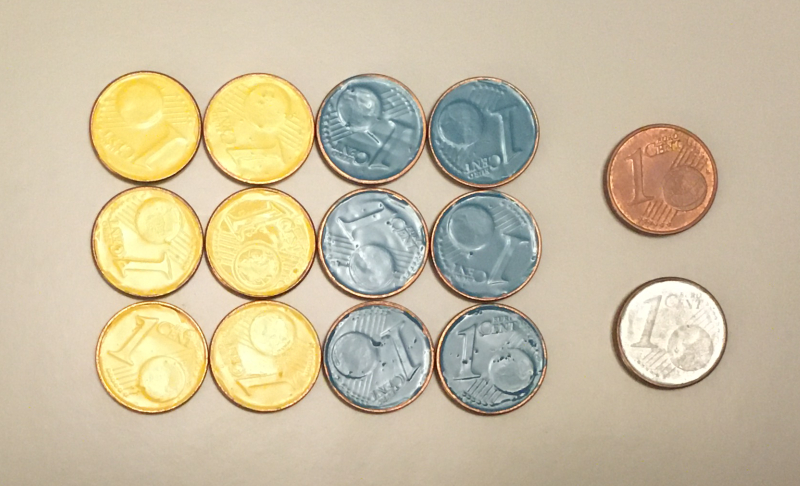
Mini Penny Green coins. Euro 1c. Enamel painted. Complete with spare for
the penny diameter rule.
"I had a thought of pure genius when I was marking out the play zone. I nipped into the kitchen and started measuring the diameters of our saucepan lids, plates, saucers, bowls and so on. I found a plate whose diameter was almost exactly right. So I drew round the plate. It was a cinch."
Use a tile scorer to cut into the dark melamine and expose a lighter shade. This gives the appearance of a white line. Then drill out the peg holes, give it a quick polish, and you're done. But take care! You won't be able to correct any mistakes.
Try not to cut into the chipboard beneath the melamine as this may encourage the laminate to lift.
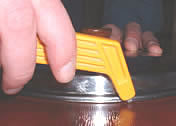
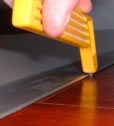
Photographs above:
Marking out a goal area line with a saucepan lid. Using a tile scorer
gives a narrow line which some players prefer. Use a qood quality metal
ruler.
"I've got three Penny Green boards and a mini Penny Green board. The Penny Green boards are all different. One is wood veneer on chipboard. One is painted and varnished on MDF. And the other is a dark melamine with scored light lines. They all play slightly different from each other but the painted MDF looks the best. Definitely."
