be kind 
PENNY BLACK
THE EQUIPMENT
The most widely played penny game of all

RULES
OVERVIEW

The Principles
The Ping Factor
Types of Board
Board Dimensions
The Pennies
Hints On Making The Board

The Principles
The board should be flat and polished. Traditionally the shape is a regular hexagon, but square and round boards are also used. The coins should be able to slide easily across the surface of the board and come to a gradual halt.
The Ping Factor

Coins should bounce off each other like snooker balls. In a head on collision between a stationary and a moving coin, the moving coin should come to a sudden halt and the other coin should move off. Hard metal coins will do this. Soft metal coins will not. Hard metal coins are said to have a high ping factor (coefficient of restitution). Coins with a smooth rim are best.

Click here for an animation
It might take a few seconds to load

All the animations on this site were made for PCs. Apologies. Unfortunately, I have lost all my .fla files so can't copy and adapt them for small screens. I will have to make more from scratch.

The best set of pennies I had were 7/8 inch stainless chamfered washers. When I went back for some more the guy at the factory apologized and said he shouldn't have let me have the first lot. All those washers were destined for the MOD to use in the chieftan tank. Yes there was a brief time when we played with chamfered washers. (If you want to try washers get the very best stainless chamfered ones you can find.)


Types of Board


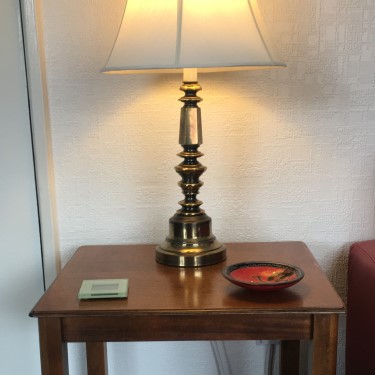
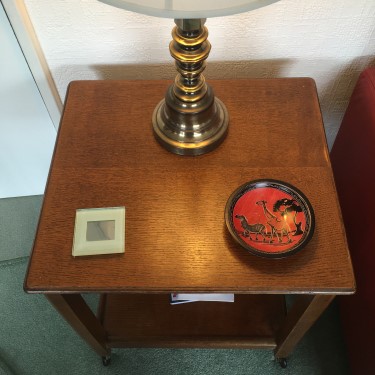
What do you see when you look at the photographs above? A side table, a coffee table, a tea trolly? Well , actually it's the surface upon which the very first game of Penny Black was played in 1982. So if you want to try out the game before going to the trouble of making or buying a board, put some stickers on a set of coins, polish well a suitable playing surface; and, away you go.

Different materials play differently. Generally speaking, the smoother the surface the more friction there is between board and coin. A board with high friction is called slow and one with little friction is called fast. A melamine surface with a 3D grain imprinted into it will be faster than a smooth melamine surface. Different types of wood have different grains and are all different speeds. A painted and varnished surface can be made fast by using a small roller for the paint that leaves a fine dimpled surface which is then very lightly sanded before the varnish is applied. All surfaces need to be polished regularly and will speed up over the initial stages.

Whatever board you go for, remember to varnish or paint the underside so that when you turn it, it will not snag on the carpet or table cloth beneath. I play on a table with a large towel under.

MDF boards are painted with a small roller. Ordinary emulsion paint is good enough because over this should be brushed on a clear, hard varnish. There is a company online that will cut MDF, chipboard and plywood into a hexagon (or most any other shape) and deliver it to your door. If you want a board in a colour of your choice then this is the type of board for you.

Real wood veneered chipboard / and real wood veneered MDF have been the most common materials used to date. Square boards can be bought pre-cut, online or at your local hardware store. There is a wide range of veneers to choose from. See the section called Hints on Making a Board below. If you like the look of real wood then these are for you.

To get a ready made board buy a small, square or round, cafe table top online. Most of these are smooth laminate or resin coated and will need to be polished well, many times, to speed them up. The underside, if untreated, will snag on a cloth but you can always allow the cloth to turn with it, or fix it.

A good quality board can be made from plywood. There is a company online that will cut plywood (soft, hard and marine), chipboard and MDF into a hexagon (or most any other shape) and deliver it to your door.


Board Dimensions

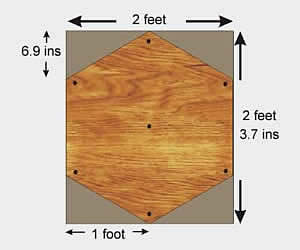
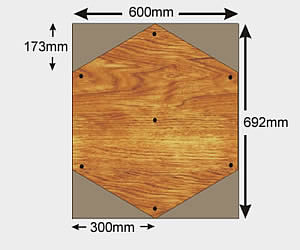
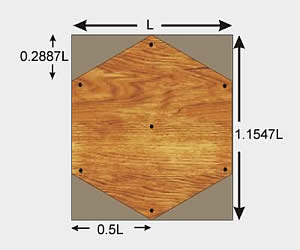
The diagrams above show the standard sizes for a hexagonal Penny Black board. One is in imperial units and the other in metric units. These sizes work well for experienced players with UK 1p, Euro 5c, and equivalent coins.

Conveniently, sheet materials, like MDF and MDF veneered, plywood and chipboard, is often sold in widths of two feet, or six hundred millimeters. (Stores might display a width of 606mm; that's two feet.)

A standard sized square board will be two feet by two feet, (or 600mm by 600mm) which means it has a larger playing area and a longer diagonal than a hexagonal board. For a hexagonal board to have the same playing area as a square two foot board it would need to have a width (that's the distance between two opposite flat sides) of 656mm.

Multiplication factors are given for anyone who wishes to experiment with different sized boards. For example, if you take L as 656 mm then the vertical distance from top to bottom will be 1.1547 x L= 757 mm.

Smaller boards of width 18inches (or 450mm) are also popular.

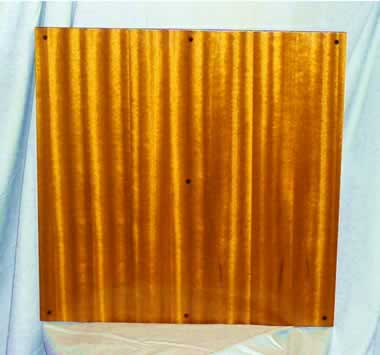
The centre of the board is marked with a spot and the centre of an outer spot should be about two centimetres from its corner, straight edge, or curved perimeter. The photograph below shows you where the spots are put on a square board. Four equally spaced outer spots are put on a round board.

Square Board

If you like the feel of playing with the heavier UK 2p coins then you can scale up a standard sized Penny Black board using a multiplication factor of 1.25. That makes a standard sized Tupenny Black board, for experienced players, a width of thirty inches (760mm). An eighteen inch board (450mm) using the same multiplication factor becomes twenty two and a half inches (570mm). To be honest, I'd just use a standard sized Penny Black board of width twenty four inches for the smaller board.

"Don't get your knickers in a twist about getting the board size exactly right. My first 'board' was a rectangular, wooden, coffee table top 480 x 540 mm. My second was a hexagonal board, made from wood veneered chipboard, 620 x 720 mm. They never did me any harm. Now I've got a square board and a hexagonal board for Penny Black. Two feet by two feet. Both of 'em. Standard sizes at last, huh!"


Pennies
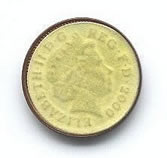
UK coins euro coins Red marker 

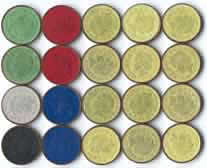
Coins used for Penny Black pennies should have a high ping factor. UK 1p and 5c euro are recommended for boards cut from a width of two feet and for those cut from a width of eighteen inches.

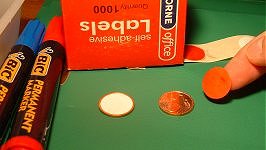
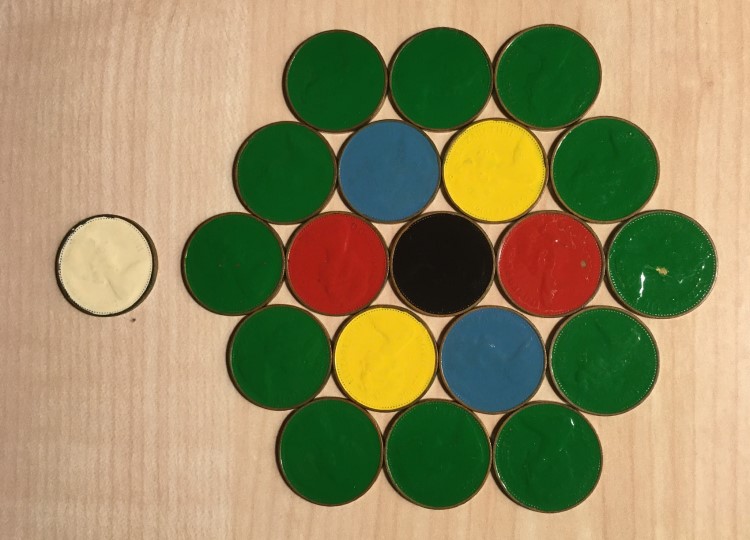
Buy 19mm, round, white, self-adhesive labels and colour them. Permanent marker pens are best. Finding a yellow marker may be a problem. If so, then use a yellow highlighter pen instead.

Alternatively, buy coloured stickers from the web. I get mine from Minilabel - a family business since 1983.


If you prefer you can paint them. Use enamel hobby paint and don't paint the edges as it'll only chip off.

"... the weird thing about them is that after a while the Queen's head showed through really clearly, especially the yellow ones."


Hints On Making The Board

sand paper hoover 

The following hints apply to the making of all pennygame boards. The photographs in this section show a Penny White board being made.

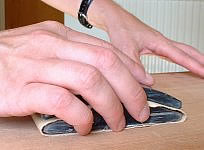
When you sand use a sanding block and the finest grained paper you can buy. Sand along the grain. After sanding always use a vacuum cleaner to suck up the dust.

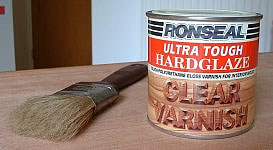
Use a really hard wearing clear varnish. It brings out the natural colour of the wood and won't easily chip.

varnishing permanent 

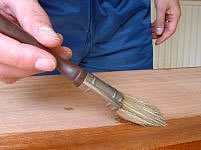
Use three thin coats of varnish. Take your time. Get it evenly spread. Don't miss the edges. 

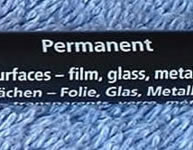
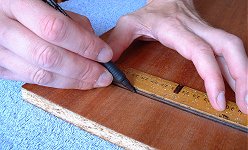
After the first coat use a permanent marker pen to put on the dots/lines. A photograph above shows a line being drawn on a Penny White board with a permanent OHP pen.

The second and third coats of varnish will seal the ink and it will remain, undamaged, for the life of the board. Sand after every coat but extremely lightly. You are just getting rid of any fluff nicks etc.

Remember to varnish the underside of the board, as well, so that it doesn't snag on the cloth beneath it, and turns easily.

Wash your hands. Any grease that's transferred from them to the board will stop the varnish from taking.

Finish each coat with light brush strokes in the direction of the grain. Wait 24 hours before re-coating.

Either buy and iron on purpose made edging strip to the bare chipboard, or instead plug the bare ends with decorating filler and paint - black is the preferred colour.

Finish off with a quick spray of multisurface funiture polish and rub well. Continue to polish regularly and the board will speed up.

"My board is nineteen years old now. I've waxed it regularly and it's lightning fast. I always wipe it with a polishing cloth before every game, because you know, like even when it looks perfect there'll be the thinnest layer of dust on it and that just messes with your game. No, really, it does."