American Football but without getting your block knocked off

In the photograph
below the 'players' have been made from an old RISK set. They are
painted with enamel hobby paints. Look closely at the blue team and you
will see that there is one single - blue with one white stripe, three
doubles - blue with two white stripes, three triples - white with three
blue stripes, and a quarterback.
The ball is cut from a scrap of wood. On the left of the ball are two
missed tackle markers. On the right of the ball are the row of scrimmage
marker, the gain ten marker and the 5 rows behind marker - these are the
tops from some Mastermind pegs.
There is an egg timer. Well why not? There are three dice.
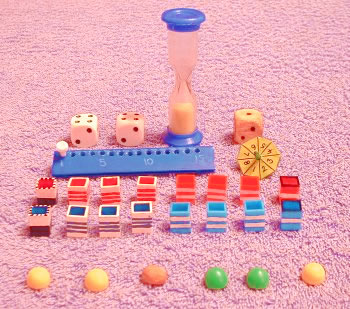
A number wheel with eight sides has been made from card, a matchstick and a dollop of hard setting glue. (As an alternative to the number wheel you could set a calculator on its random setting for numbers from 1 to 8, or buy some eight-sided dice.)
The scrimmage counter has been made from a plastic binder and a Mastermind scoring peg - though you could record the number of scrimmages just as well using a paper and pencil.
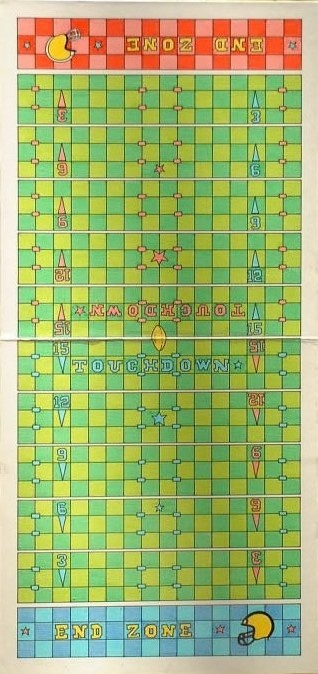
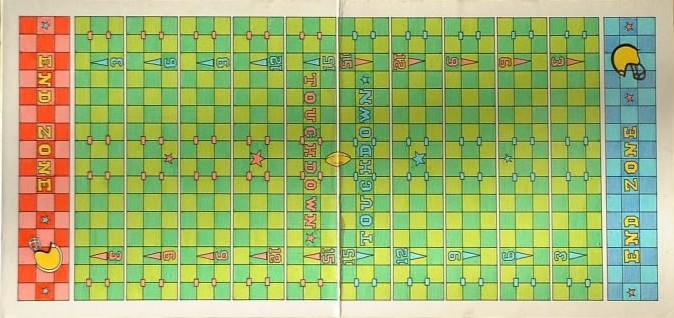
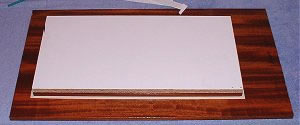
The board shown above was first hand drawn in pencil on white paper. The pencil lines were gone over in black ink, and the squares coloured with felts. The finished paper was glued onto art board and covered with sticky-back plastic. However, if you prefer you can make a board in an hour or so by following the instructions below.
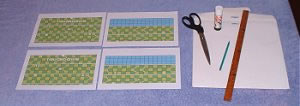
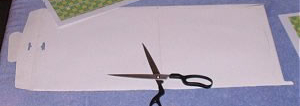
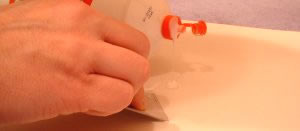
Get a pair of scissors, a pencil, some glue, a ruler, and some card on to which the print outs can be glued. In the photograph above the card is a wallet in which a calendar was purchased.
Any card will do. The stiffer the better.
If the board is too stiff to cut with scissors - like an art board - then cut it to size immediately: 292mm by 625mm. A very sharp craft knife will do the trick. Just keep scoring until the board breaks apart.
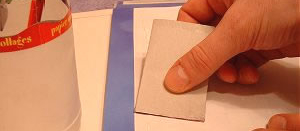
If the card is thin and can be cut with scissors, as shown in the photographs below, then you can wait until the sheets are glued on it and then trim the excess.
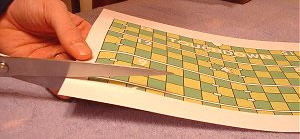
Take one sheet with the word TOUCHDOWN and cut along the boundary between the white and the coloured squares on the 6th row.
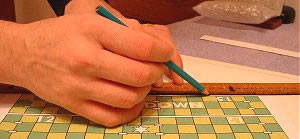
Take the other sheet with the word TOUCHDOWN. Draw a pencil line 2mm away from the edge of row 15 and cut along it.
Take one sheet with a blue end zone and cut along the boundary between the white and the coloured squares on the 6th row.
The other sheet wih a blue end zone leave as it is.
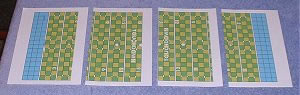

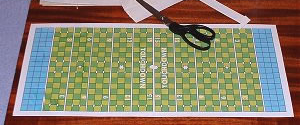
Lay the sheets out as shown on the photograph above (top). Starting from the left we will call them sheet 1, sheet 2, sheet 3, sheet 4.
If you have already cut the board to size then very lightly, in pencil, draw a 15mm border around the squares only along the side lines and end lines and cut off the excess. Replace the sheets in order
The sheets will be glued in order starting first with sheet 1. Sheet 2 will overlap sheet 1, sheet 3 will overlap sheet 2 and sheet 4 will overlap sheet 3. The photograph on the right shows the final sheet (sheet 4) being joined to sheet 3.
Spread glue from the left end of your board to the middle. Stick down sheet 1.
Take sheet 2. Spread glue on the back of rows 8, 7 and 6. Stick down sheet 2. Be careful to match the sheets up exactly. You shouldn't see the join.
Now stick down the right hand side sheets. Match up the squares exactly. The football in the middle of the board will have a small, sideways split in it (my apologies).
If you have used thin card, not yet cut to size, then very lightly, in pencil, draw a 15mm border around the side and end line squares and cut off the excess.
While the glue is drying keep the board flat. Use books or a piece of chipboard etc. If you have used art board this last step will not be necessary.